Sunday, February 13, 2011

origami architecture

I'M BLOGGING AGAIN ALREADY!

And It's only been 6 days!

Wow.

*holds out hand to quiet loud applause*
;D

I have found a new interest.
(big surprise)
Brace yourselves for another long name:

~Origami Architecture~

Ok, not that long.

I was searching for origami, when I ran across an inspiring photo.

Amazing.

Sadly, there is no free pattern.

After I recovered from this sad fact, I set about searching for more creations, but with free patterns.

My search, (rather unsuccessful) eventually morphed into a pop up cards search. Not sure how I got of onto a rabbit trail like that.

But I did.

I wasn't looking for simple pop up cards. Something more like this or this.

Yes, I definitely was nuts to think I could even try to make something like that.

Also,

these patterns were created by a Ingrid Siliakus.

A leading artist in this type of work.

Apparently she doesn't want to give them away free. ;P

So, I had to find something else.

Easier,
but not too easy.

Hm.

Most artists wanted to sell their patterns in books.

Sigh.

I finally found a great website: Baud and Bui.

Free, downloadable patterns.

Not too hard.
Not too easy.
:D
My first attempt:
A pagoda

I thought it looked pretty neat...

Sadly, it isn't pop up.

It just....stands there collecting dust.

It sure looks neat, though.:D

After that, I found another site with some free patterns.

It's in Spanish (I think...), so I can't read it, but I could still figure out the diagrams!

It's called:
Libros
The patterns are a bit harder.
:)
The best patterns I found were at the bottom of the most recent post.

Here is a city/town mirror image.

Turned out better than the pagoda.

*nods*

The last place I found was this blog.

It has a few neat patterns, and lot's of other neat craft ideas!

Anyway...

I have now journaled my quest for Origami Architecture patterns.

If anyone finds any other good sites with free patterns,

I would LOVE to know about them!!!

Maybe I'll just have to buy a book from those artists who won't give free patterns away...
;D

Another post about Valentines to come shortly!
(I hope...)

Thursday, February 10, 2011

paper cutting


*looks at date of last post*

Hm.

So much for blogging more. ;)

Beading? Ah yes, I was into beading, wasn't I...

Well, this time it is paper cutting!

A few weeks ago, something triggered my memory, I think perhaps it was a package of computer paper. :D
Don't ask me why a package of paper I walk past everyday all of a sudden reminded me of a craft I did long ago, it just did.

Yes.

A wave of remembrance hit me.
"Remember that neat paper cutting you did when you were in 4th grade?* "
(in case you were wondering, that's my memory speaking... ;))

It was a paper cut out of a forest, with two deer facing a tree. (Mirror image)

My brain started turning.

"I could try it again..."
(my imagination speaking, this time ;P)

Out came the pencil, paper, and scissors.

A tedious half hour of :

-sketching,
-making sure all lines meet,
-making sure deer are proportionate, (in the first drawing, the head was tiny :D)
-making sure it won't fall apart when I cut,

Then I started.

Scissors did not work.
(If you ever try this, take my advice, and use a craft knife)

So, I switched to craft knife.

Much better.

Cutting,
cutting,
cutting,

When I reached the leaves I lazily decided to leave some off.

Yes, it didn't enhance the picture, but it did bring relief to my aching fingers.

Just pretend it's spring. ;D

*clears throat uncomfortably*
In case you're wondering, the strange objects protruding from the tree trunk are supposed to be clouds.

Yes,
not much resemblance.

Well,

"Not as neat as I remembered"
(conscience speaking ;D)


Next day, I trotted over to the computer to do some searching for free paper cutting patterns.

After many hours I found that another word for paper cutting is:

~Scherenschnitte~

Yes, it's German.

and yes, its a mouthful.
:D
I googled scherenschnitte, and found a website that has some neat patterns.

I don't think you're supposed to copy and paste them into Word.

*looks nervously around for police*

I did. :P

Here's the website, in case you want to use them too.

A few I tried:

A mirror image forest scene:
(the bottom half is a reflection in a lake)
Mirror image paper cuttings are easiest.

half the work,
double the results!

Another mirror image pattern:
"The Cat's Meow".... :P


This next one is a bit different, as it isn't a mirror image,

Took longer.

Sigh.

It turned out neat though:

I had to change the leaves.

In the pattern they were oak leaves.

Tiny rounded edges are hard to do with a craft knife.

Oak leaves are very rounded.

I think that's all that needs to be said.

In MY pattern, they are spiky. :P

Perhaps it's a pine tree...

I also found a Valentine pattern on Martha Stewart.

*copy*

*paste*

*print*

*cut*

A picture of me *gasp* cutting:

ok, a picture of my hands...

AND....

The finished product:

This inspired me to design my own.

Out came the pencil again.

It actually turned out nicely.

*shocked gasp* ;P
and another one,

in my opinion not quite as nice,

maybe too busy with all the curlicues?

Another blog,

Victory!

and as the Warner Bros say:

*insert Looney Toons music*

"That's All Folks!"

Sunday, January 2, 2011

beaded animals

Wow.
Some people say they are bad about remembering to blog.
When they skip a week.
*sigh*

I guess it's been about 5 months for me.
XD

Anyway.....let's just let bygones be bygones, shall we?

Ok.....
So last blog was about origmi, and so was the one before, and the one before....

Yes, I was an origami fanatic.

Was.

My interests change every time the breeze does. In other words ALOT ;)

Since I last blogged, I have been through watercolors, modular origami, and several other things I can't remember at the moment.

Now I am into *fanfare*

3D animal seed bead beading.

Yes, quite a mouthful.

You really could shorten it to beading. ;)

I discovered an interesting website that contains many cute, step by step instructions for sweet, 3D beaded animals.

The moment I found it, I envisioned myself creating perfect, 3D animals in minutes.

That's not quite how it worked.

After looking at the instructions for almost every animal, (and getting slightly daunted at the complexity of the designs) I decided to print out the turtle(the simplest XD).

I worked for perhaps an hour.

See picture for results.


Yep, it wasn't how I envisioned it at all.

It was a flop.

Literally.


Surprisingly, I was not discouraged very easily (due perhaps to my kind mother's encourging words?)
and the next day found me curled up in my bed tediously stringing bead after bead to create a 3D cat.

My results were slightly improved.

Let me stress the word "slightly".

You can see by the picture above.
Though I must say it's face was quite cute.

By now discouragment had set in a bit, and I decided I needed to change my methods.

So, mother took me shopping.

For beads. And wire. Nice, SHORT, shopping trip. ;P Perhaps you can tell I don't like shopping.

Previously, I had been using thread, and tiny beads.
See photo below.

bigger beads
+
wire
=
success


See photo for evidence


Yep. A lot better.
Though some how, not as cute as the other cat....

The next day, I moved on to a little bird.

To my utter amazment and joy I found that I understood the somewhat complicated instructions.

The result: Best yet!

Ah....
I was getting better.

I think.

Next up, an adorable pig!


The whole family considered it the cutest by far. Unlike kitty, you could actually tell what it was.

Though you can't see it in the picture, there is a small red bead for the mouth.

It was agreed piggy look rather like he was whistling, or pursing his lips, deep in thought...

Not how I meant it to be.

Ah, well.

Maybe I'll leave the mouth out next time.

Next, something even more complicated.

I was getting cockier.

Seal!

How cute.

My little brother's favorite.

Unfortunately, half way through I ran out of white beads.

No time to go shopping.

So I cut up a cat I had made.

That is the reason I don't have a picture of it here.

It was very hard.

It took me a while to actually cut it. XD

In my defense however, it was pretty cute.

*sigh*

But the seal is cuter.

So I was consoled.

Lastly, a pony.


I have a sneaking suspiscion that I did not bead this one quite correctly, as it is a bit lopsided, and (a better reason) I didn't really understand the instructions. *blush*

So, he wasn't one of my more successful models.

Anyway, now I have a complete menagerie, experience in beading, and another blog post!

I am also running out of instructions. :C

However, there is still a Chihuahua...


Tip from experience: If you try any of these, wire or beading string is easiest to work with. Also, if you are faced with the choice of smaller or larger seed beads, pick the bigger ones. Much easier.
*nods*

Don't know when you will see me again, though I'll try to be more regular. No promises. :P

Bye for now!
Posted by Picasa

Thursday, July 22, 2010

cord basket


Finally I got around to trying the cord basket. It worked, but not quite how I thought it would. A little.... floppier?!

Here are my instructions:

1. Start stitching the cord into a flat coil (I used thread, but yarn would probably work too)

2. Continue stitching the coil until you are satisfied with it (make sure it will be proportionate with the rest of the basket, this will be the bottom of it)

3. Then, start coiling the cord onto the sides of your basket, and stitch from top to bottom.

4. Continue until you run out of cord!


Finished basket


Sunday, July 11, 2010

interesting knitting device

Recently I found a neat website, This and That. On it was basic instructions of how to make one of these. I'm not exactly sure how to describe it other than it creates a long knitted cord (see bottom of post). To make one, you need:

~Toilet paper tube
~Four Popsicle sticks
~A couple rubber bands
~Yarn to knit with

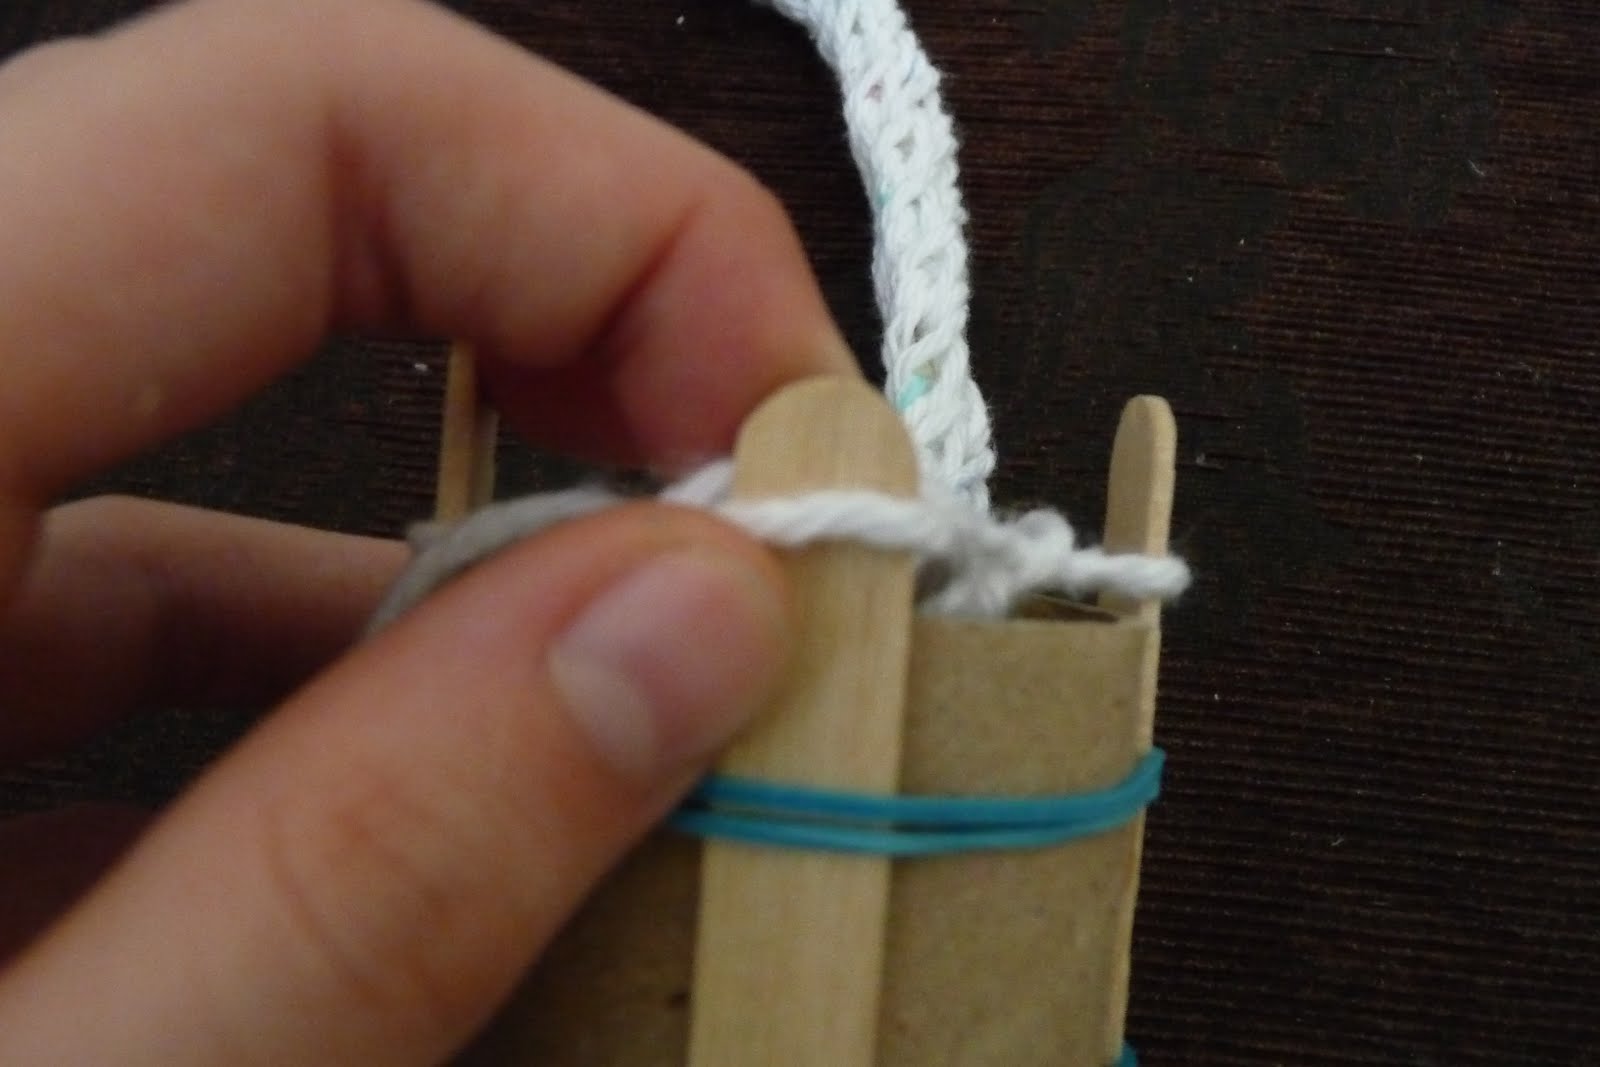
Attach the Popsicle sticks a regular intervals around the tube with the rubber bands them to hold them secure (pretty simple! ;D).

To Knit :

Drop the loose end of the yarn into the tube so it falls all the way down,


then twist the yarn around the Popsicle sticks as shown:


Next, using the yarn that is attached to the ball,(#1) pull the strand of yarn up against the outside of the next Popsicle stick, making sure to keep it above strand #2


Holding yarn #1 with one hand, take loop #2,

and pull it all the way over #1 and the Popsicle stick.


Finished stitch:

Repeat this, rotating the tube counter clockwise to the next stick each time.
Very quickly, you will find yourself with yards of this cord coming out the bottom of the tube.
What to do with it? :S I haven't quite figured out, but perhaps a basket...
If it works I will blog about it, sooner or later. (I meant to do my blogging today!)

Finished Cord

Wednesday, June 2, 2010

origami magic rose-cube

This cube is really neat, and once you unfold it, it is hard to put down. Here is the link to the pdf instructions:
http://www.mediafire.com/?3t0tnwzjytu
It was fairly simple, though a few steps took me awhile to understand. After a little work I got it to actually fold out into a rose! Here are some pictures:


The cube...

To unfold it into a rose you grab the opposite sides of one red square and gently squeeze it together. Repeat with the other red sides.


Then do the same thing with the green squares...


...and voila! A beautiful rose!
(The white in the petals is because I used two toned origami paper)

Opened rose

To close the rose, gently smooth all six squares back to their normal position.


Wednesday, May 26, 2010

origami 4 kindergarten

The other day my mom taught kindergarten for a day (the real teacher was busy). She invited me to show the kids some origami things I have made and to teach them a simple project. So Monday afternoon I came up to school. I showed them an origami caterpillar, a pecking crow, my origami firework (see older posts) and a few other things. Then I taught them how to fold a paper dog face. They really enjoyed it!

Showing them the firework...


The little drinking bird...

Leading them through the steps of folding...

...and their finished puppies!
I think they really loved cutting and folding, but even more so, the final result!